Cattle panel is a wire fence product, also called feedlot panel. It is relatively lightweight and flexible, which allows us the bend it into an arch that covers the garden.
This garden was build with 2 pieces of cattle panel that we bought at Big R in Falcon. The panels are each 16 feet wide and 50 inch high. Our garden is about 7 wide, so the 16 foot panel creates an arch that is a bit over 6 feet tall and comfortable walk inside. We covered our cattle panel hoop house with hail cloth, but this design is sturdy enough that you can cover it with greenhouse plastic to extend your growing season.
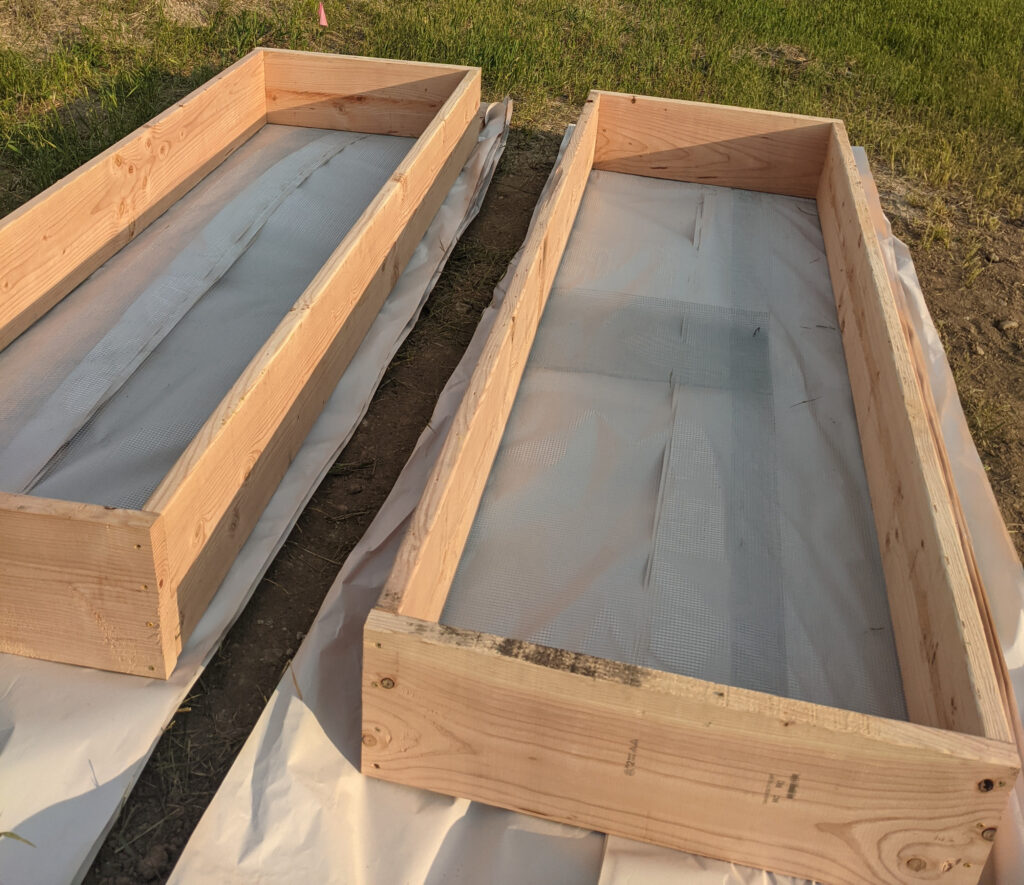
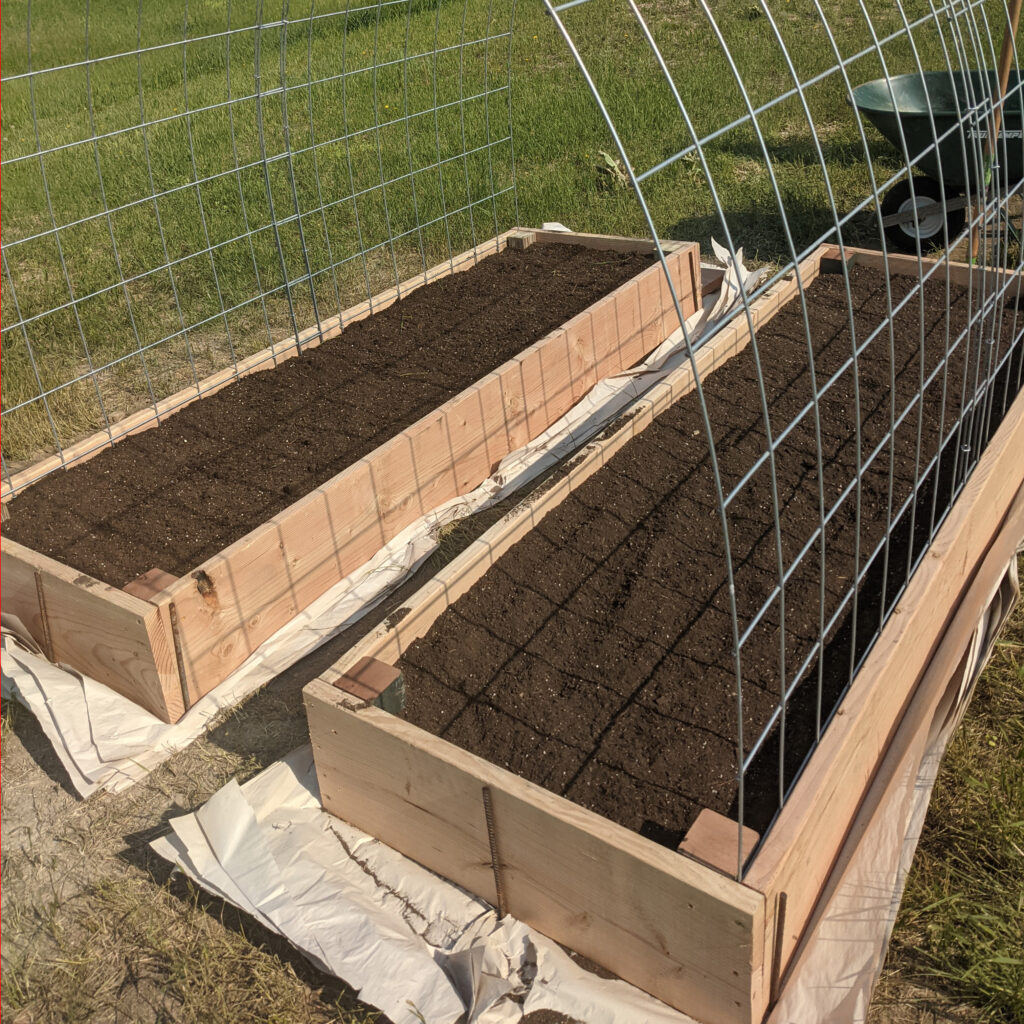
We choose a raised bed design for this garden, very much like the smaller raised bed garden. This garden is two separate narrow raised beds. You could create a single large bed, but this one is installed on a bit of a slope and it was easier to install two beds, one just a bit lower than the other.
Google cattle panel greenhouse or cattle panel garden tunnel for many variations on this design.
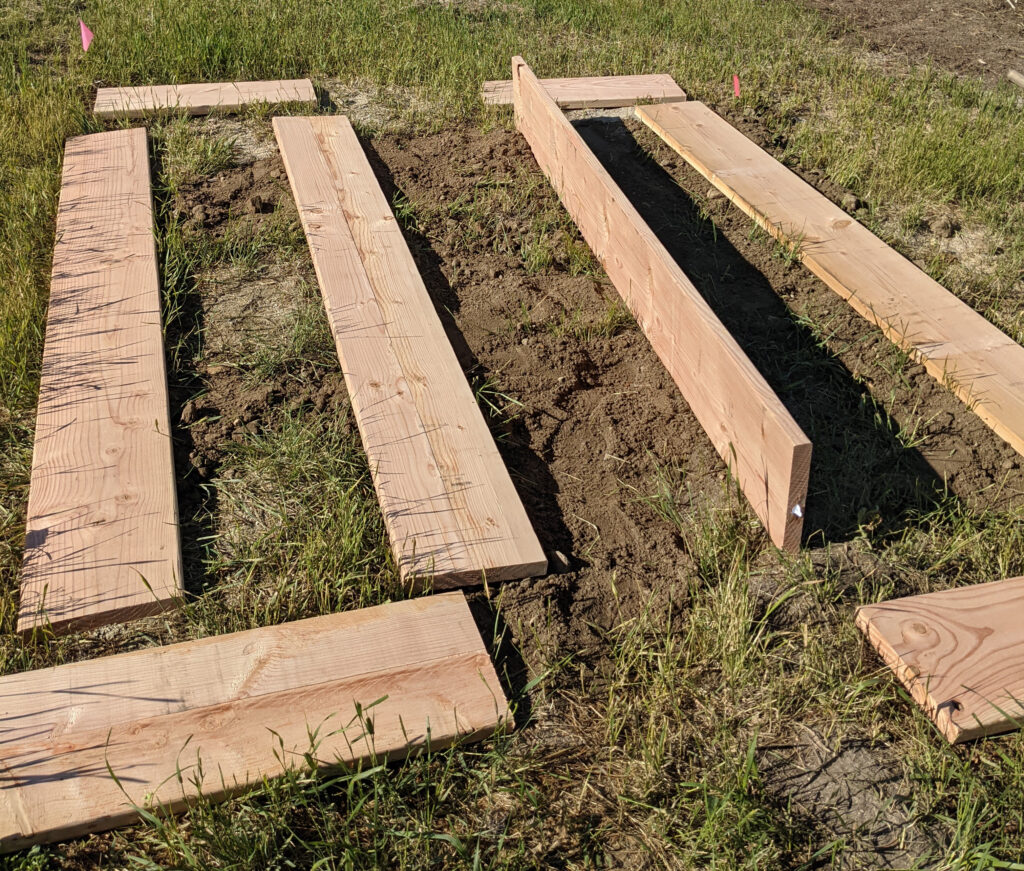
We started by building two raised bed boxes like those created for the small raised bed. We used 6 pieces of 2×10 by 8 ft pine. Two of the boards were cut create 4 end pieces, each 33 inches long. These boxes are not as wide as the small raised bed because the beds will be planted and weeded from a center walkway. They are only accessible from the middle of the garden, so a smaller width makes it possible to reach across the bed.
We built two boxes just as we did in the smaller raised bed garden. Note that the long boards are 8 feet long and that the smaller ends of the box are attached on the end of the long boards, not the inside. This means the inside length of the box is a full 8 feet to accommodate the cattle panels.
The corner braces are NOT installed at this point! We added them after installing the panels.
After building the boxes, we stapled hardware cloth to the bottom (see raised bed pictures) and placed them on a thick layer of paper to suppress weeds.
Next, install the cattle panels. This step is much easier with two or three people. Carry a panel to the raised bed and carefully maneuver one end of the panel inside the bed. Hold that end of the panel down while a second person or two walks the other end of the panel toward the opposite edge of the bed. The panel will arch up as you push the second end down into the raised bed. Now do the same thing with the second panel. Place both panels before you start nailing them into place. In our garden, the bed length is 8 feet while both cattle panels are 4 feet 2 inches wide, for a total of 8 feet 4 inches. This creates a couple inches of panel overlap in the center of the arch.
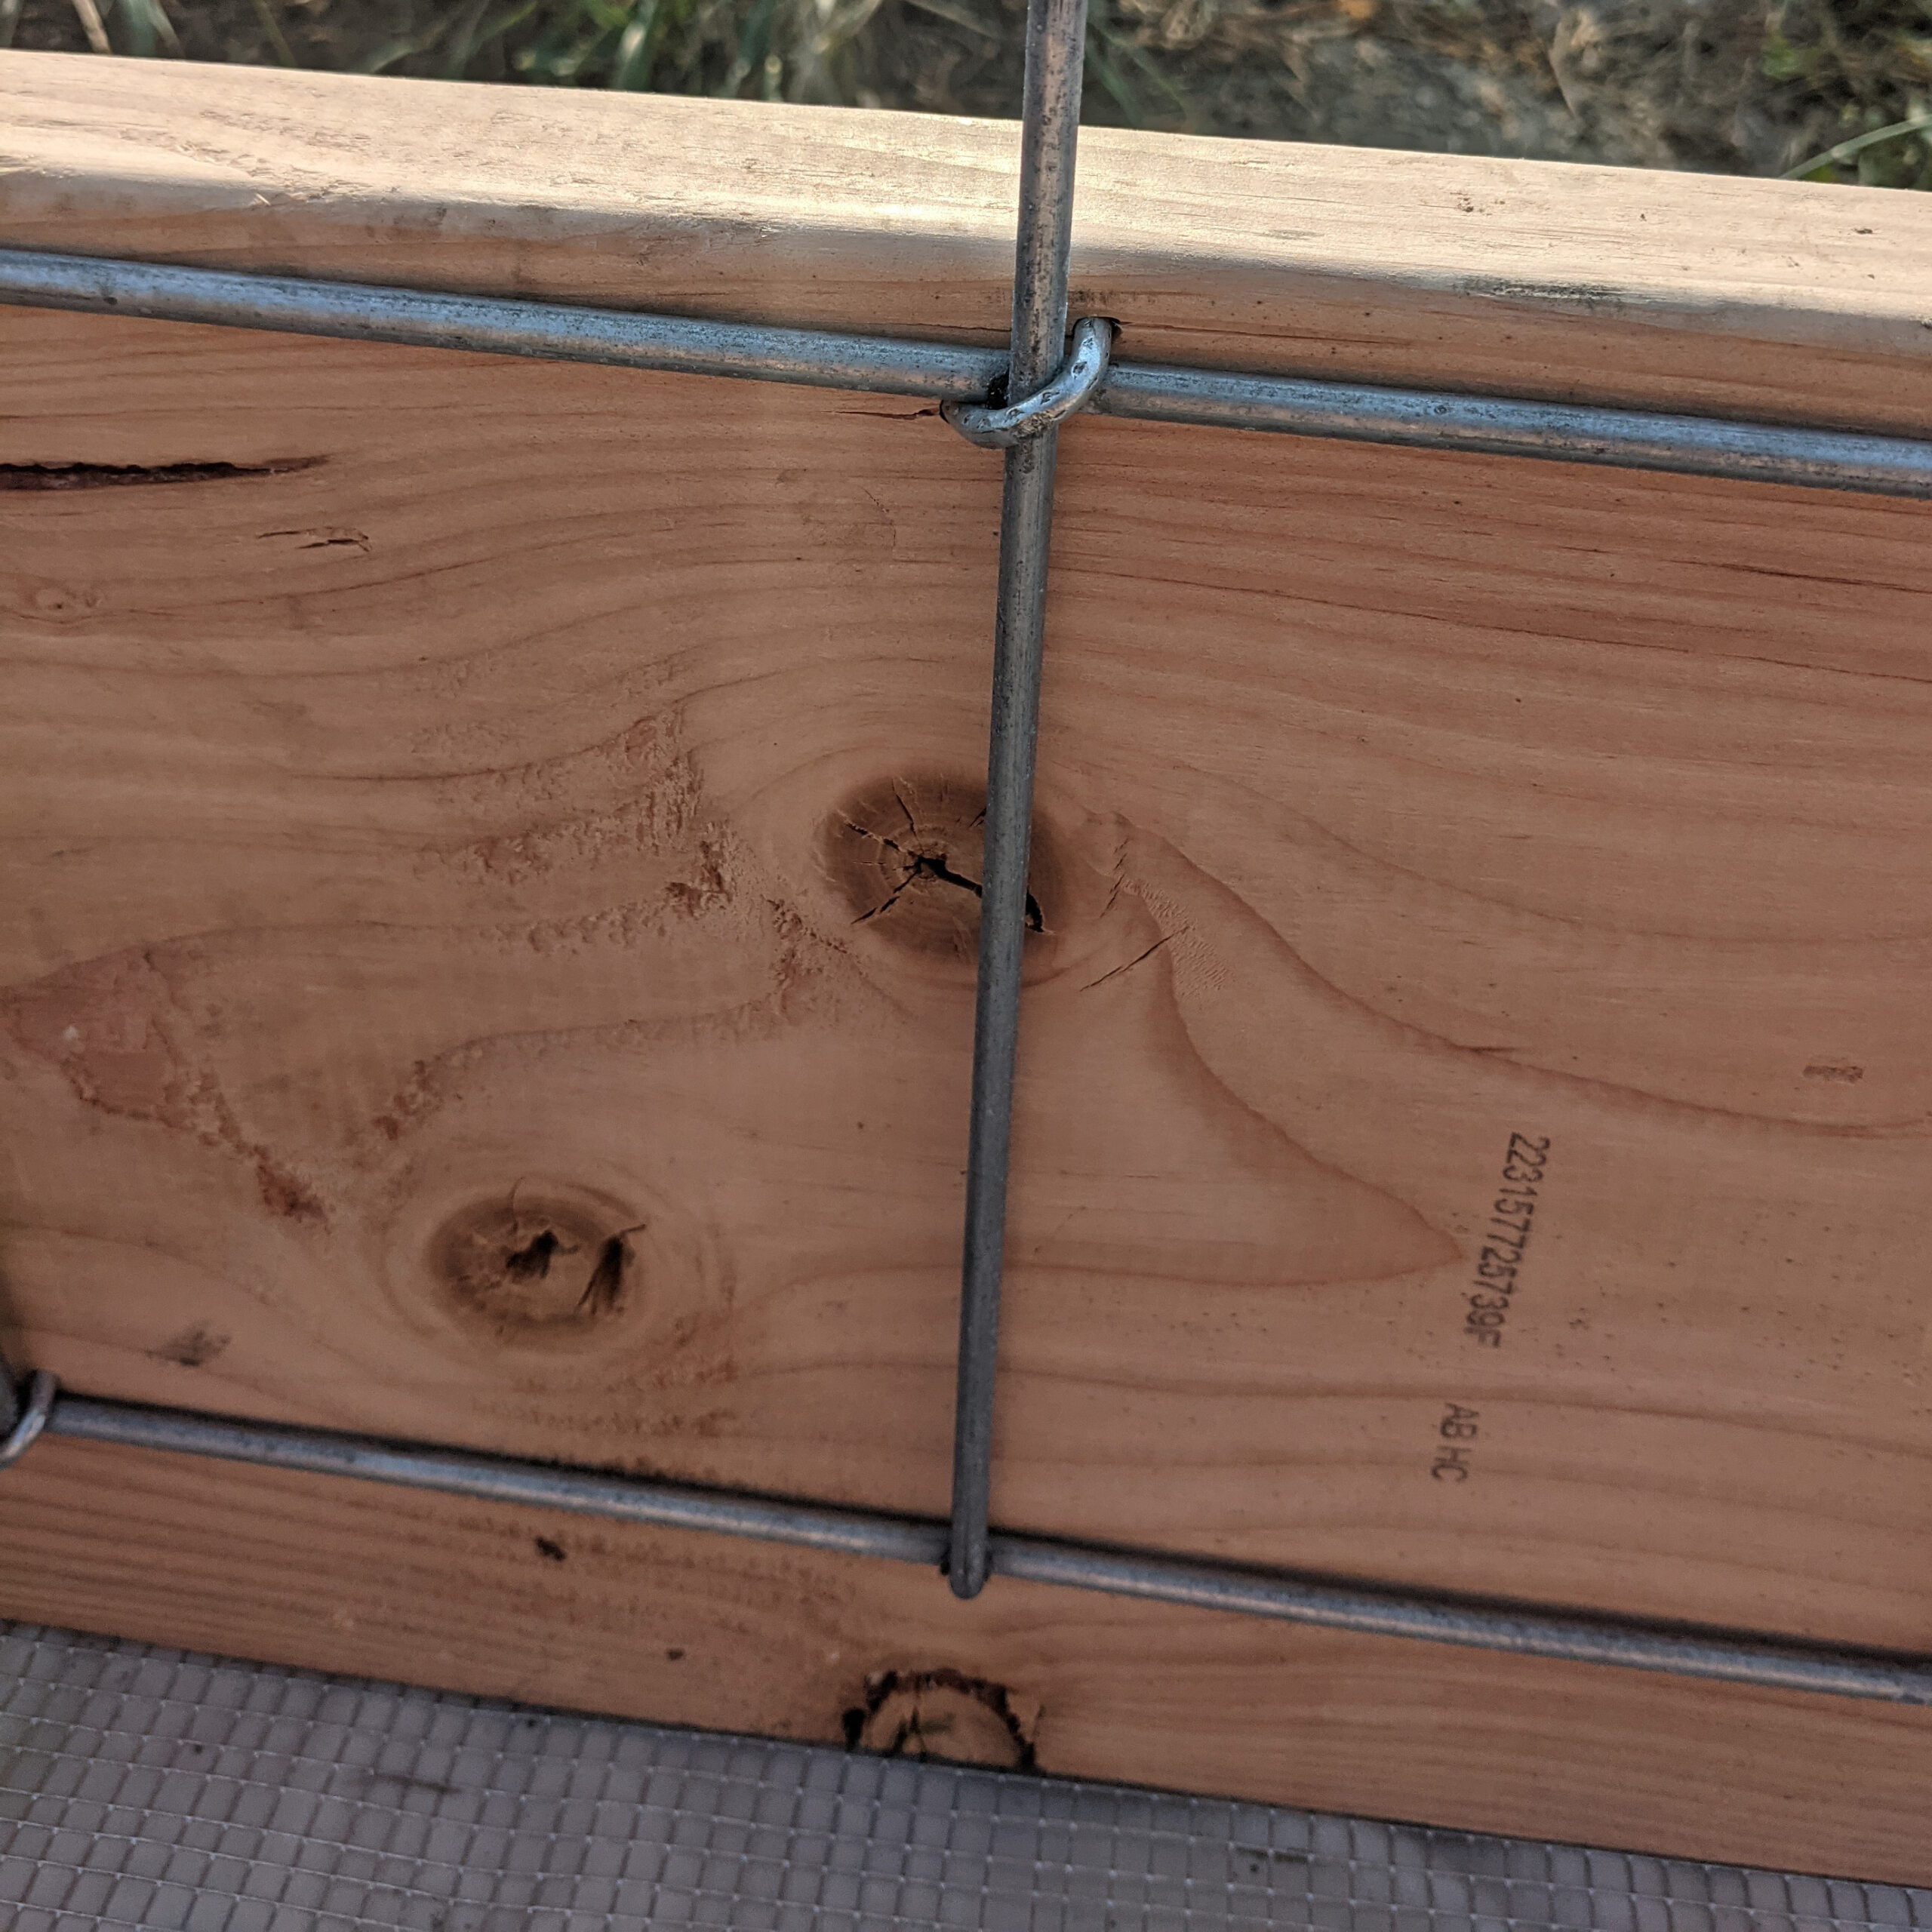
We used U nails (also called fencing staples) to attach the cattle panel to the wood of the raised bed. We lifted the panel a couple inches off the ground when nailing it the the bed because it adds a couple inches to the height of the arch. Use lots of U nails to make it sturdy!
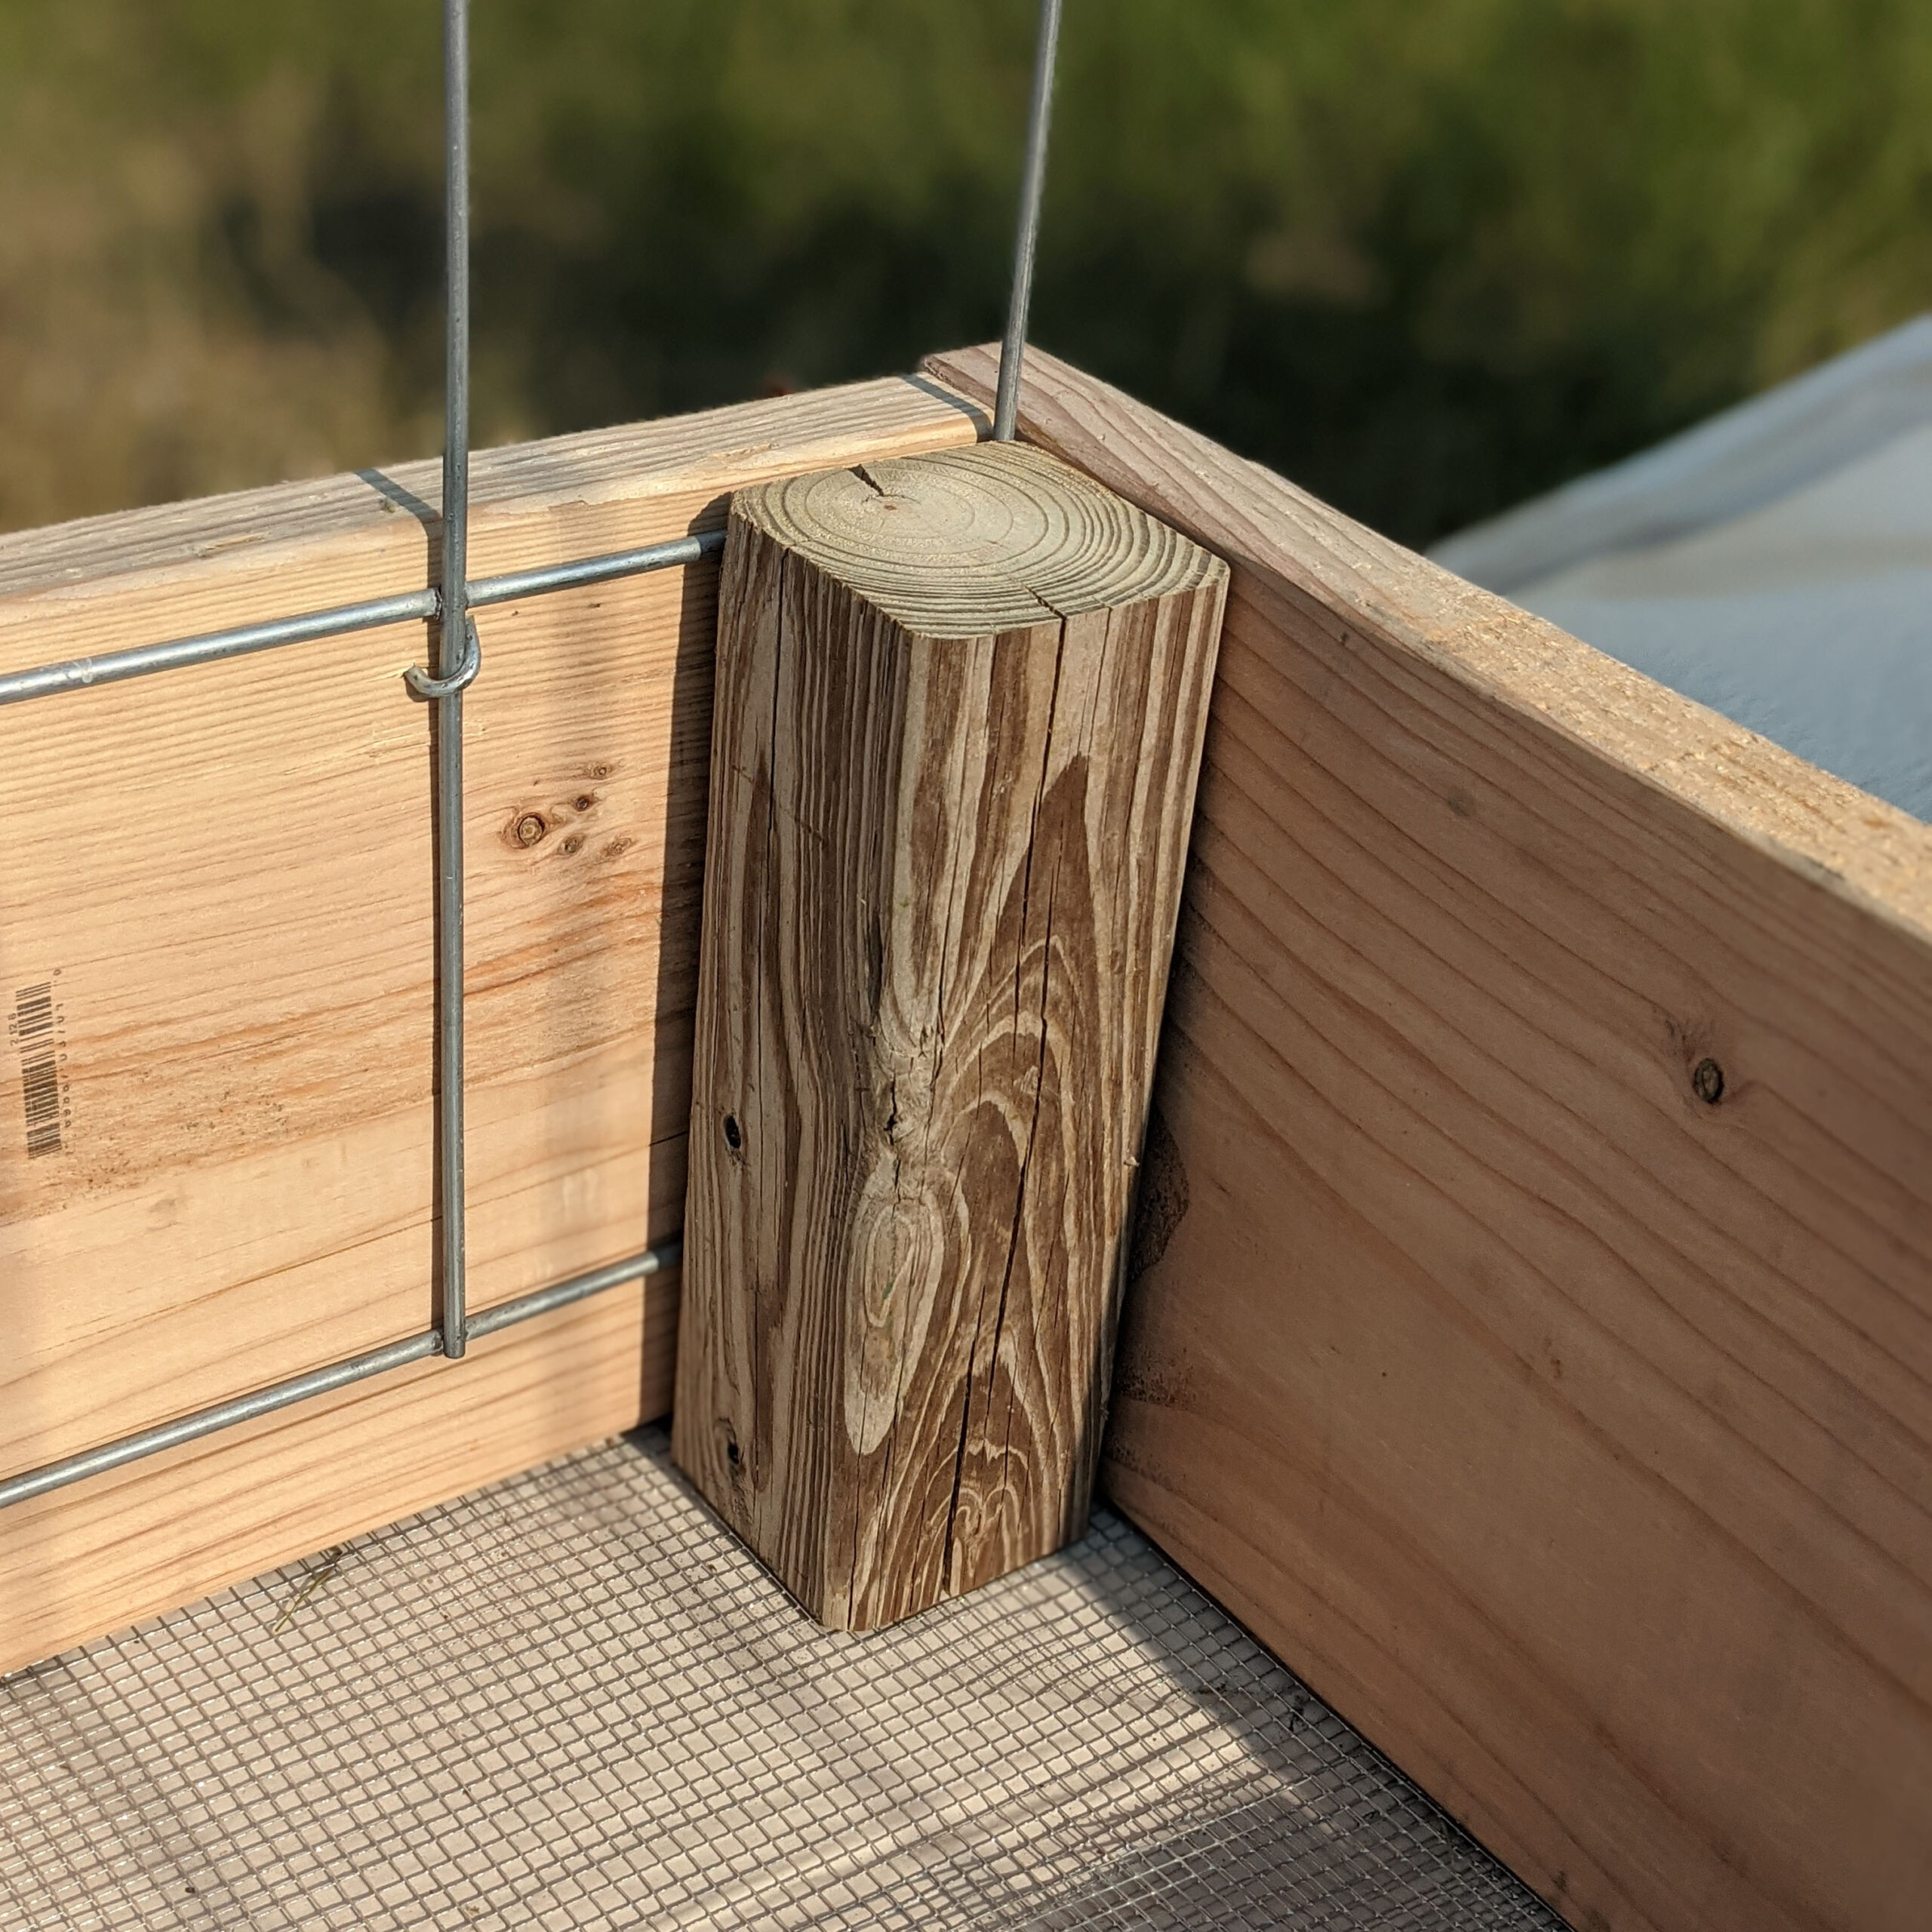
After attaching the cattle panel we added the corner braces. This bed is heavier than the smaller raised bed so we used scrap 4×4 post lumber in all of the corners. Soil is heavy, so make sure you add some extra support to the corners.
U Nail
Corner Brace
Now that the cattle panels are attached to the raised bed, the two panels must be attached to each other to make the structure more stable.
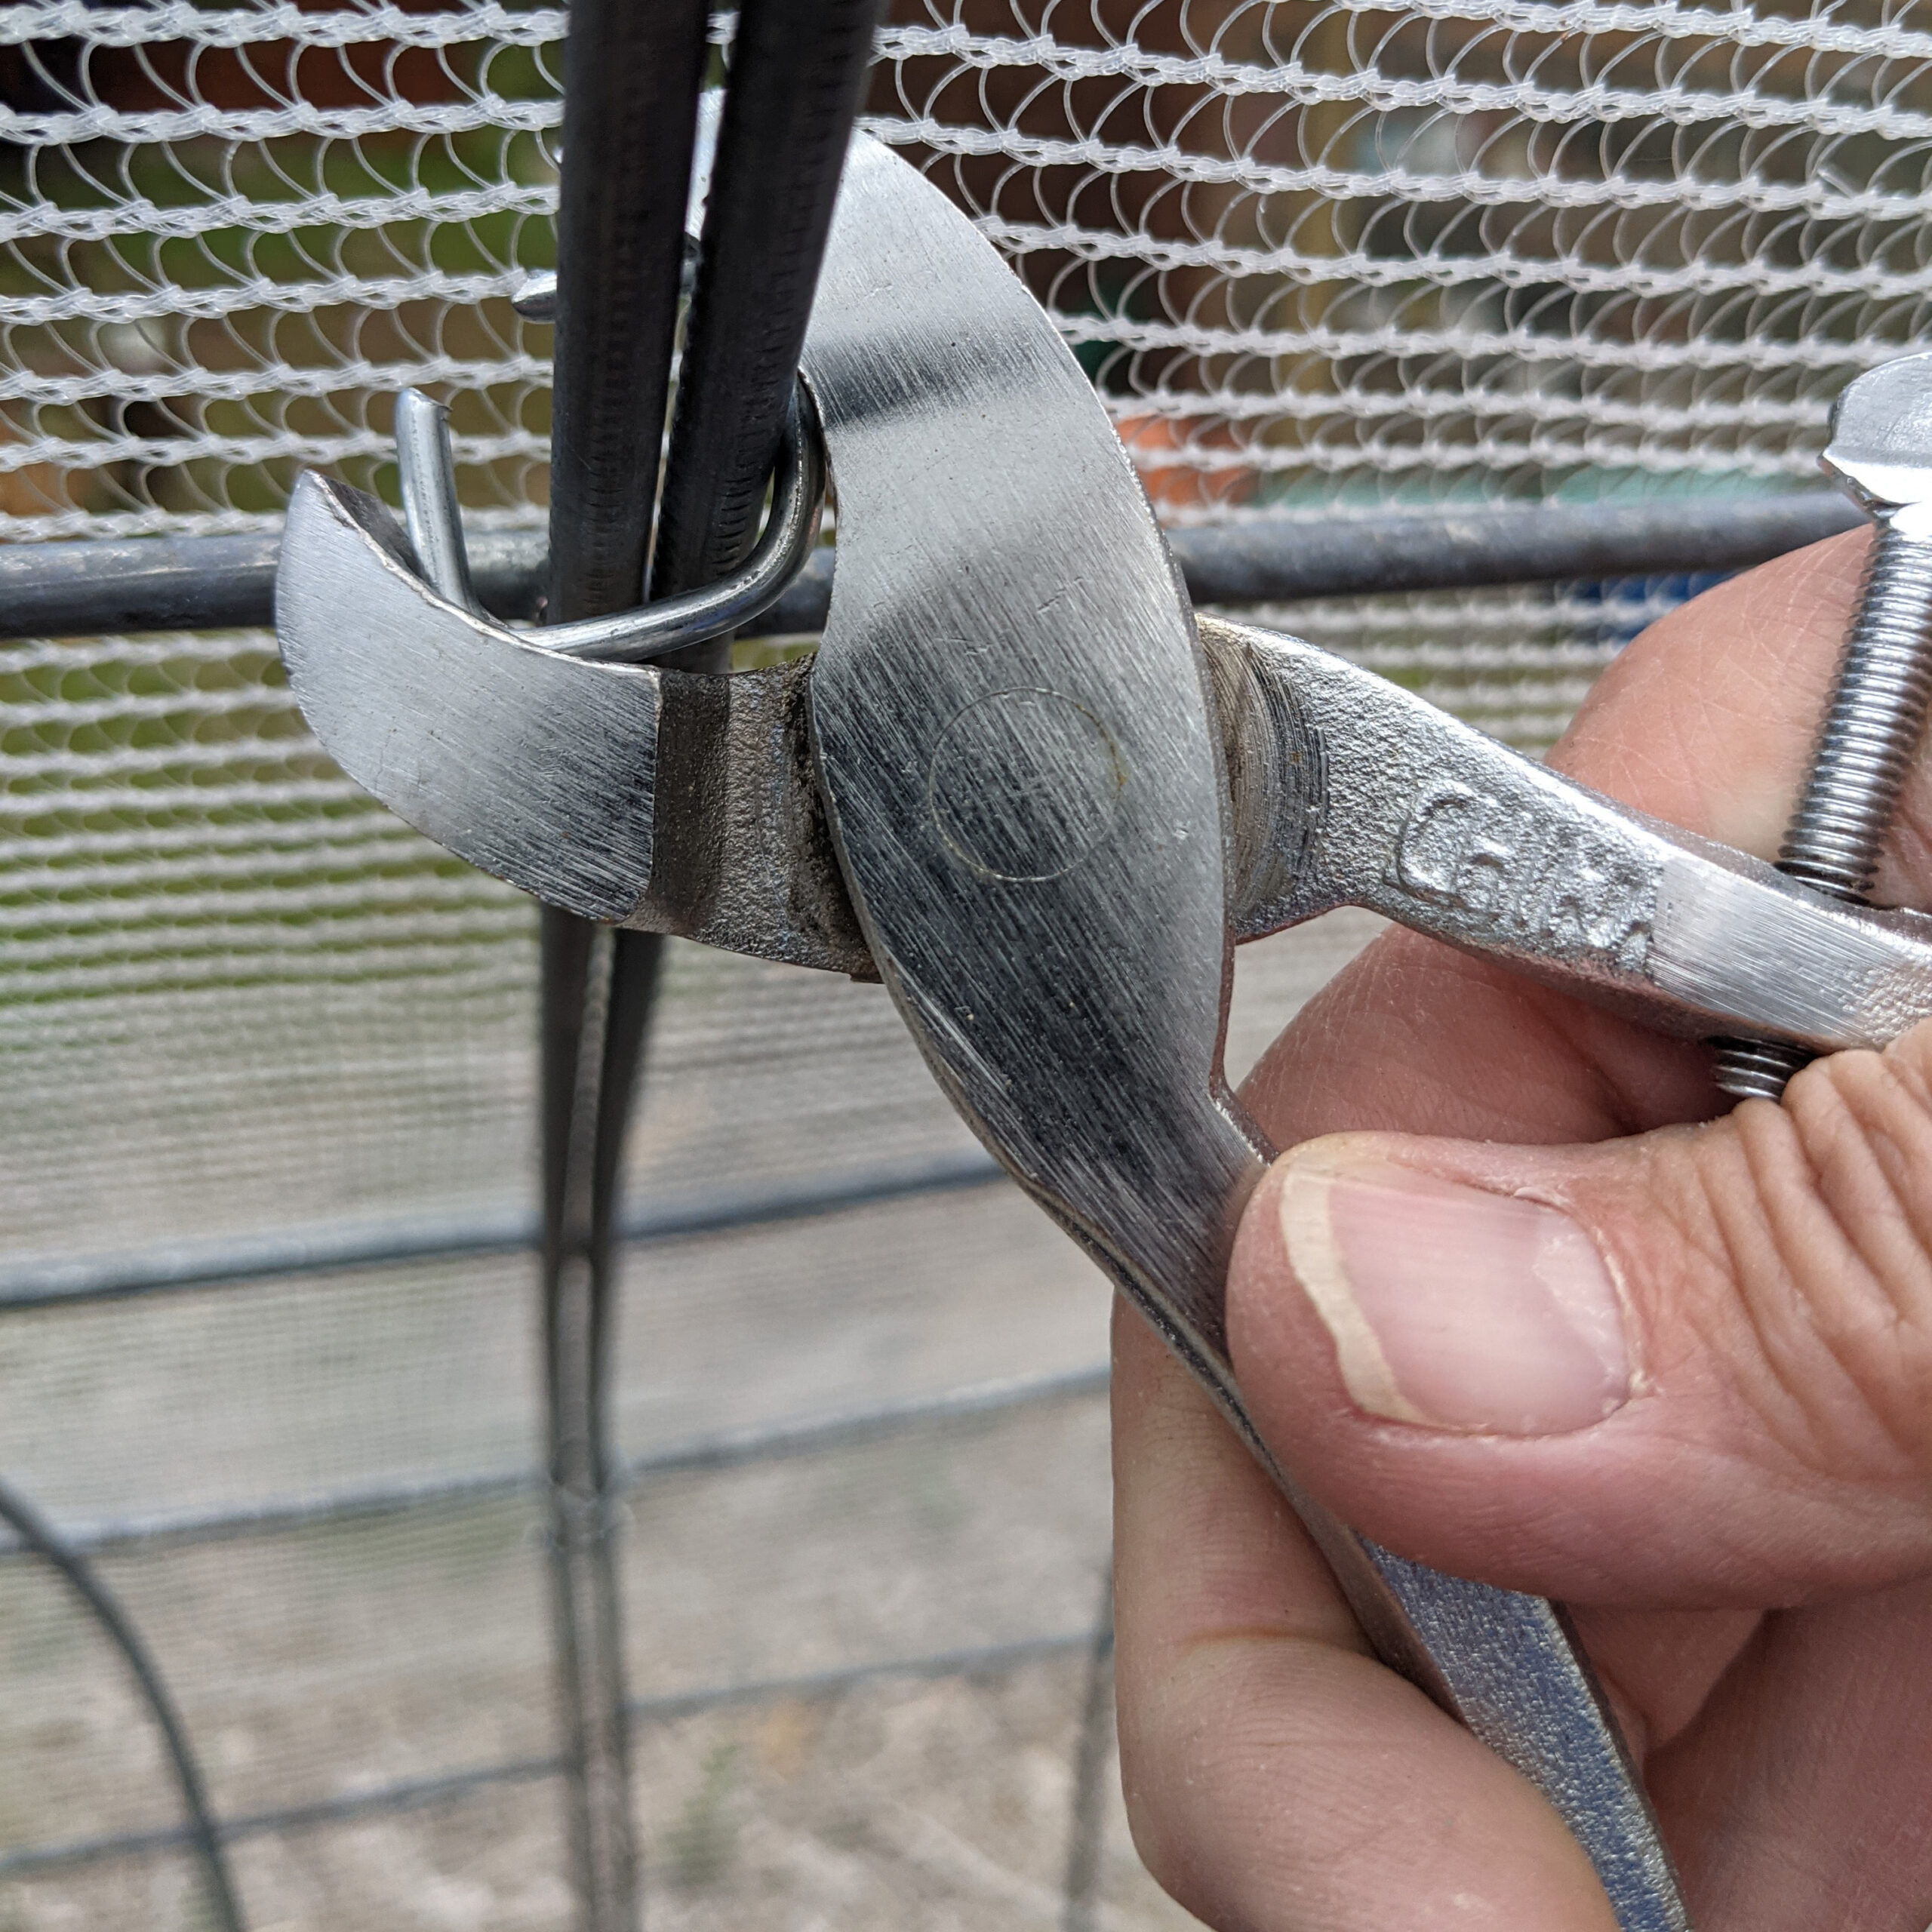
The metal clips pictured here are called Hog Rings. The tool is called Hog Ring Pliers. We bought them in the fencing section at Home Depot. We used the hog rings to attach the two cattle panels to each other. This is necessary to create a stable arch.
Simply clamp the hog ring around two two pieces of panel and crimp the ring tight with the pliers. Install the rings every 6 to 8 inches along the arch overlap.
Hog rings and pliers
Using pliers
Connected panels
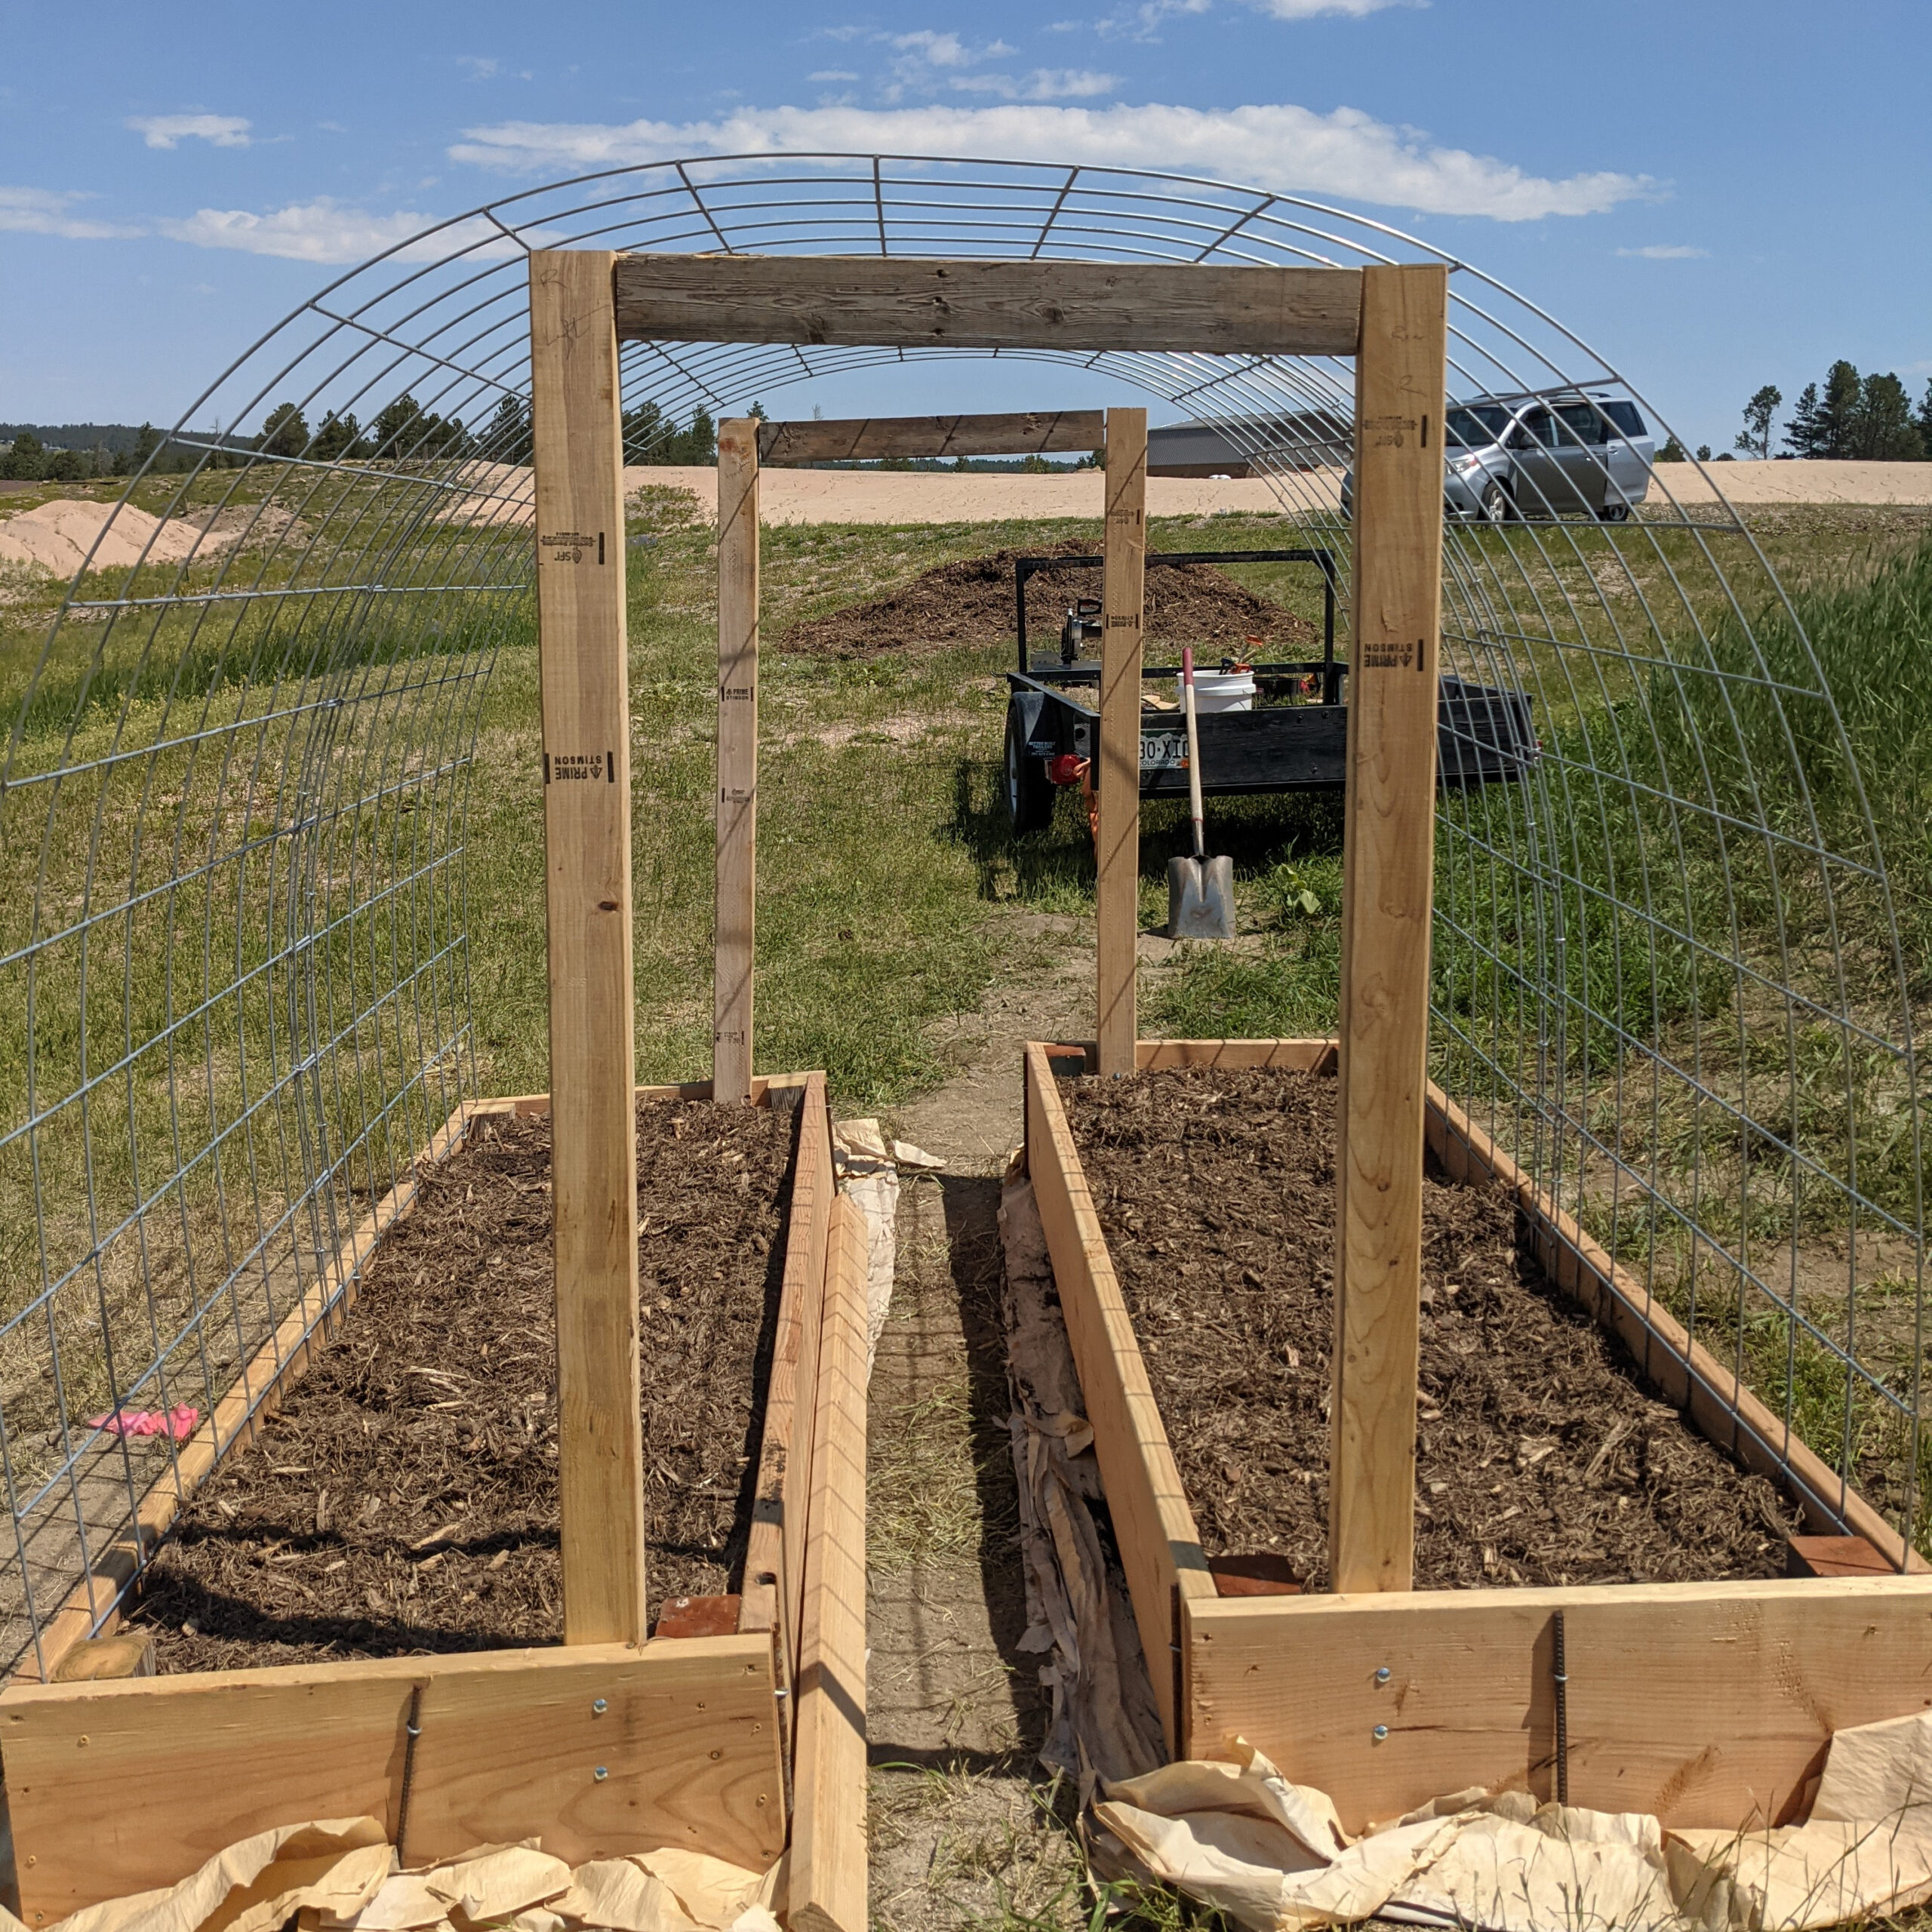
At this point the panels and corner braces were installed but the beds had shifted while we were working. We moved the beds to their final positions and pounded rebar into the ground along the outside edges of all of the beds to keep them from shifting. This garden in on a small slope, so it was important to brace the beds. If your site is level, this is unnecessary.
Next, we filled the beds with Flower and Garden Mix from our sponsor,Don’s Garden Shop. If you want to use the Back to Eden approach described in our Conduit Arch bed, that would work too. This style of arch also works over a traditional, in-ground garden bed.
Next, we framed a wide opening on both ends of the garden. We had help moving the garden dirt before we got to this step, so we just shoveled it back out of the way. It would be easier to add the end openings before filling the raised beds.
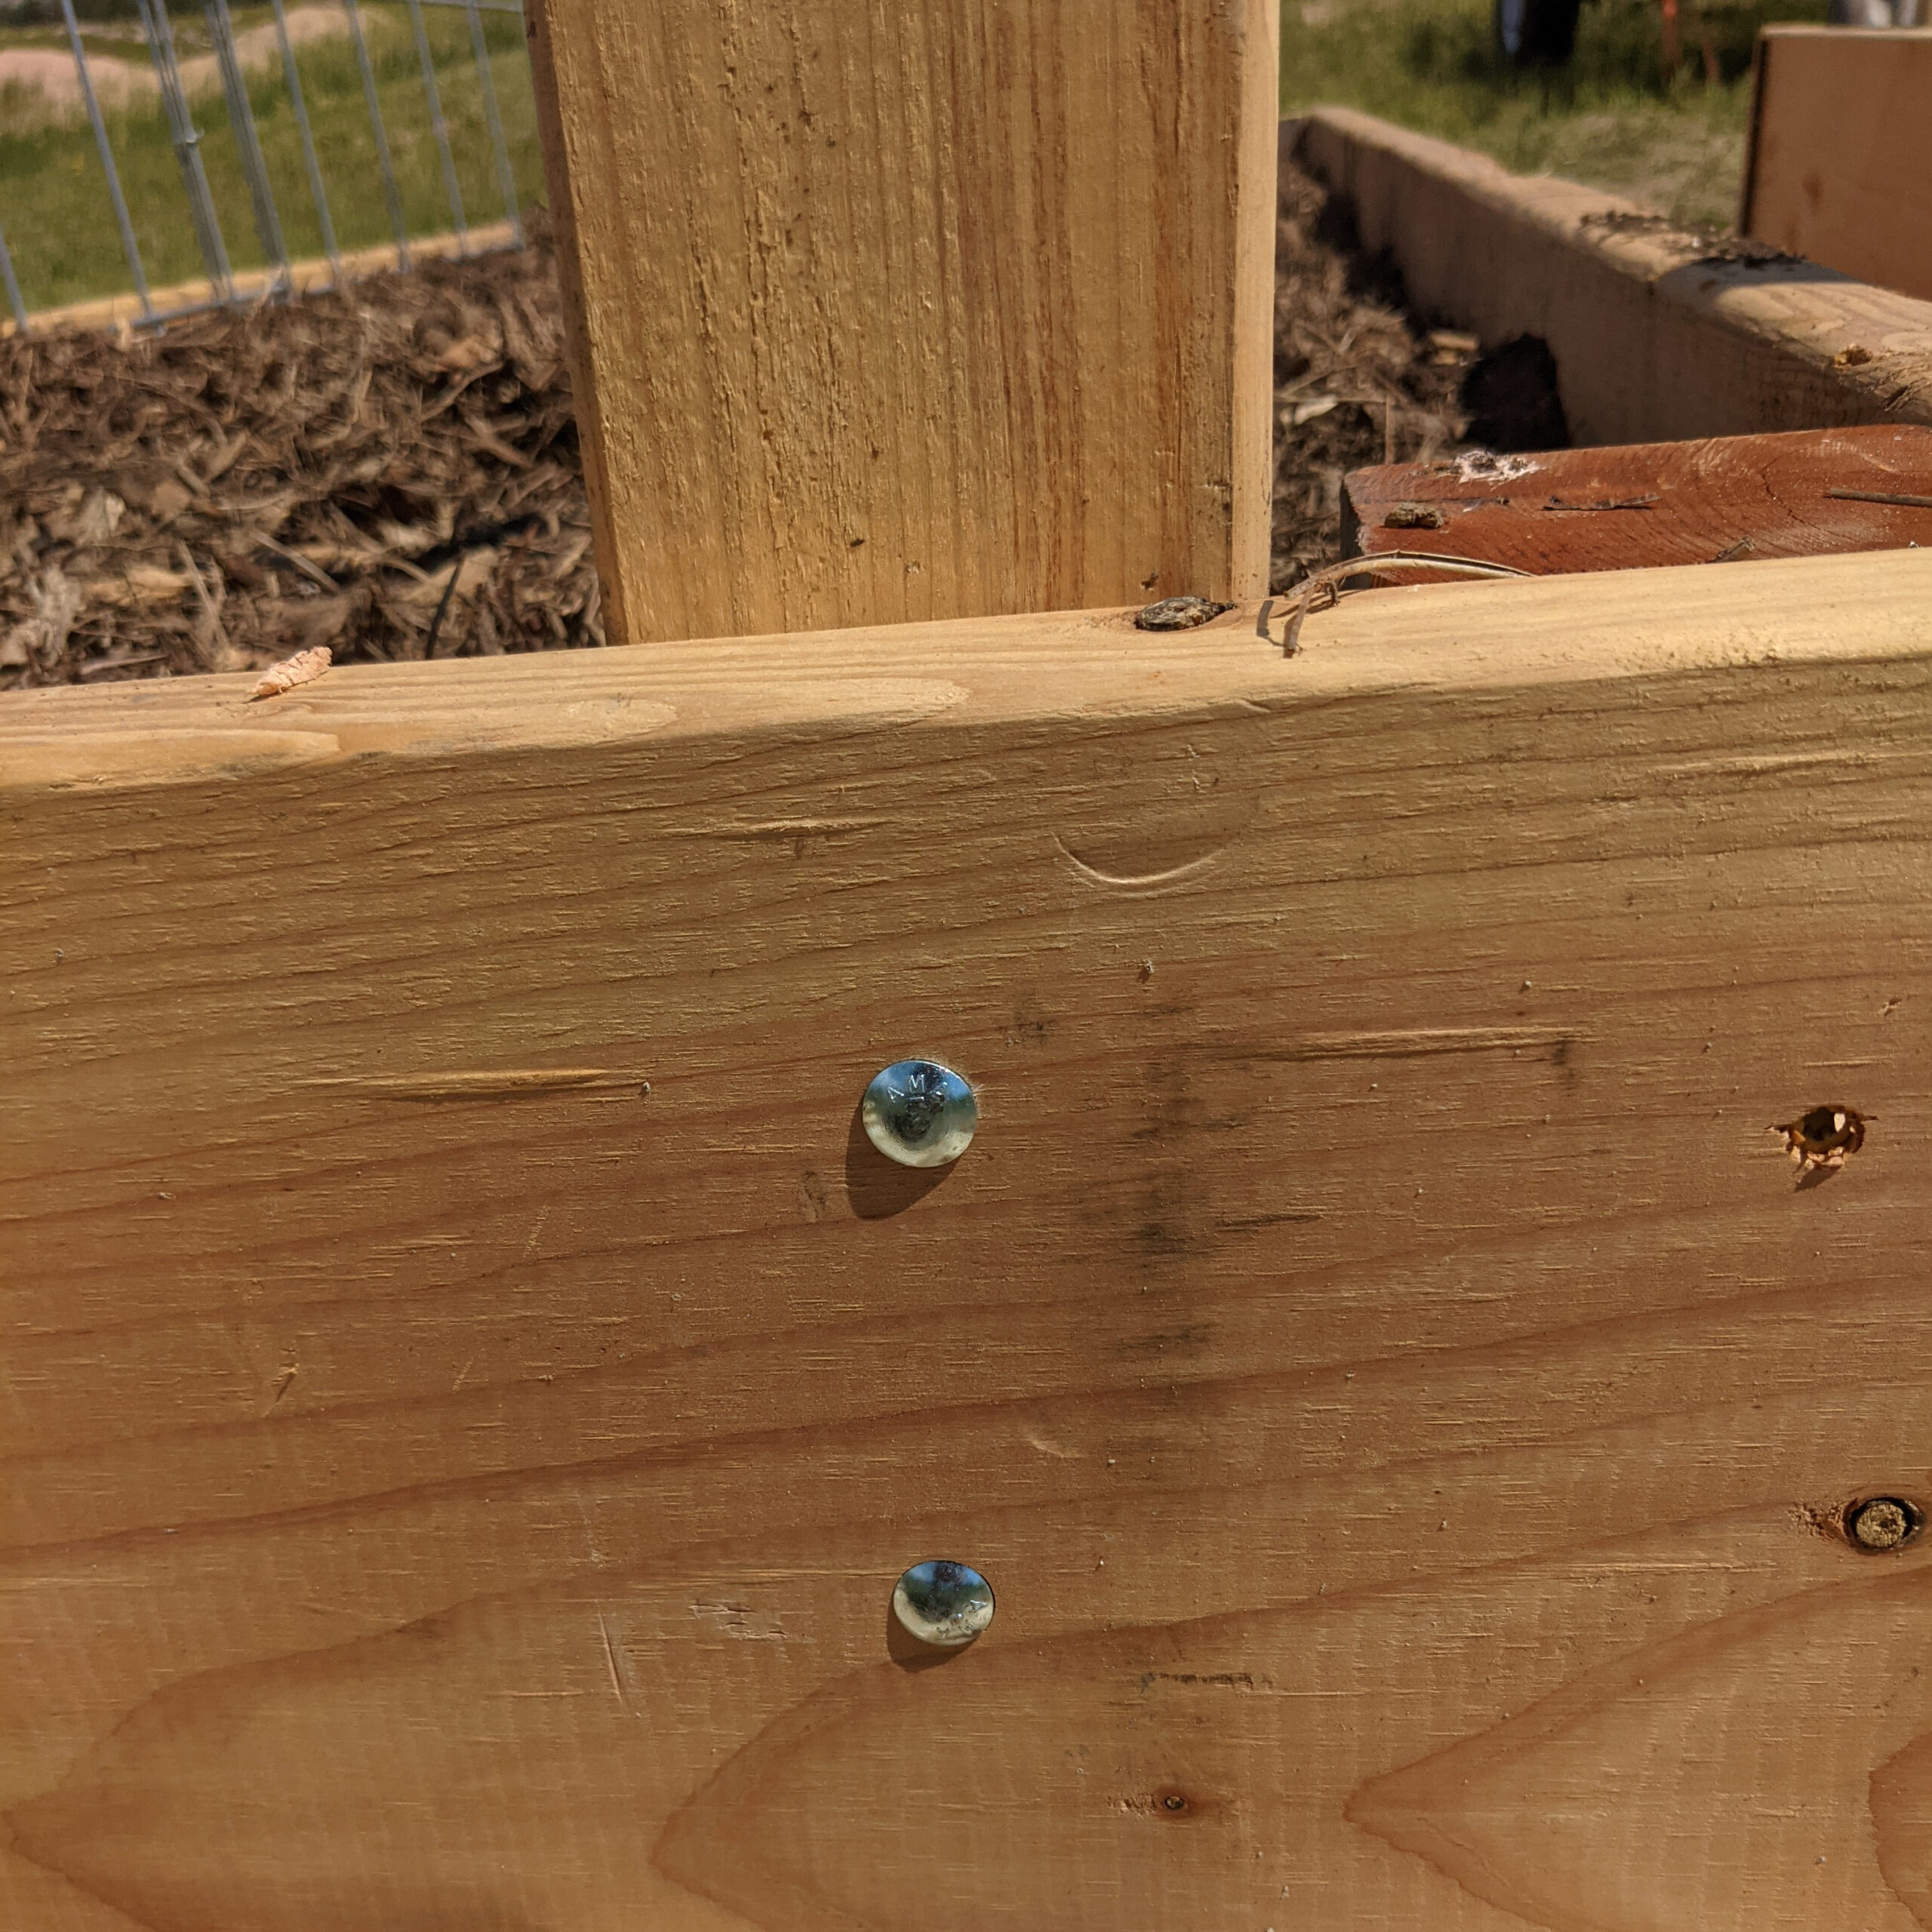
The openings were framed with 5 2×4 by 8 foot pieces of pine. They were attached to the raised bed with two carriage bolts for each upright. We used carriage bolts because they are stronger than screws.
The framed openings are wider than the path between the beds because they are going to provide additional support for the arch.
Framed Opening
Carriage Bolts
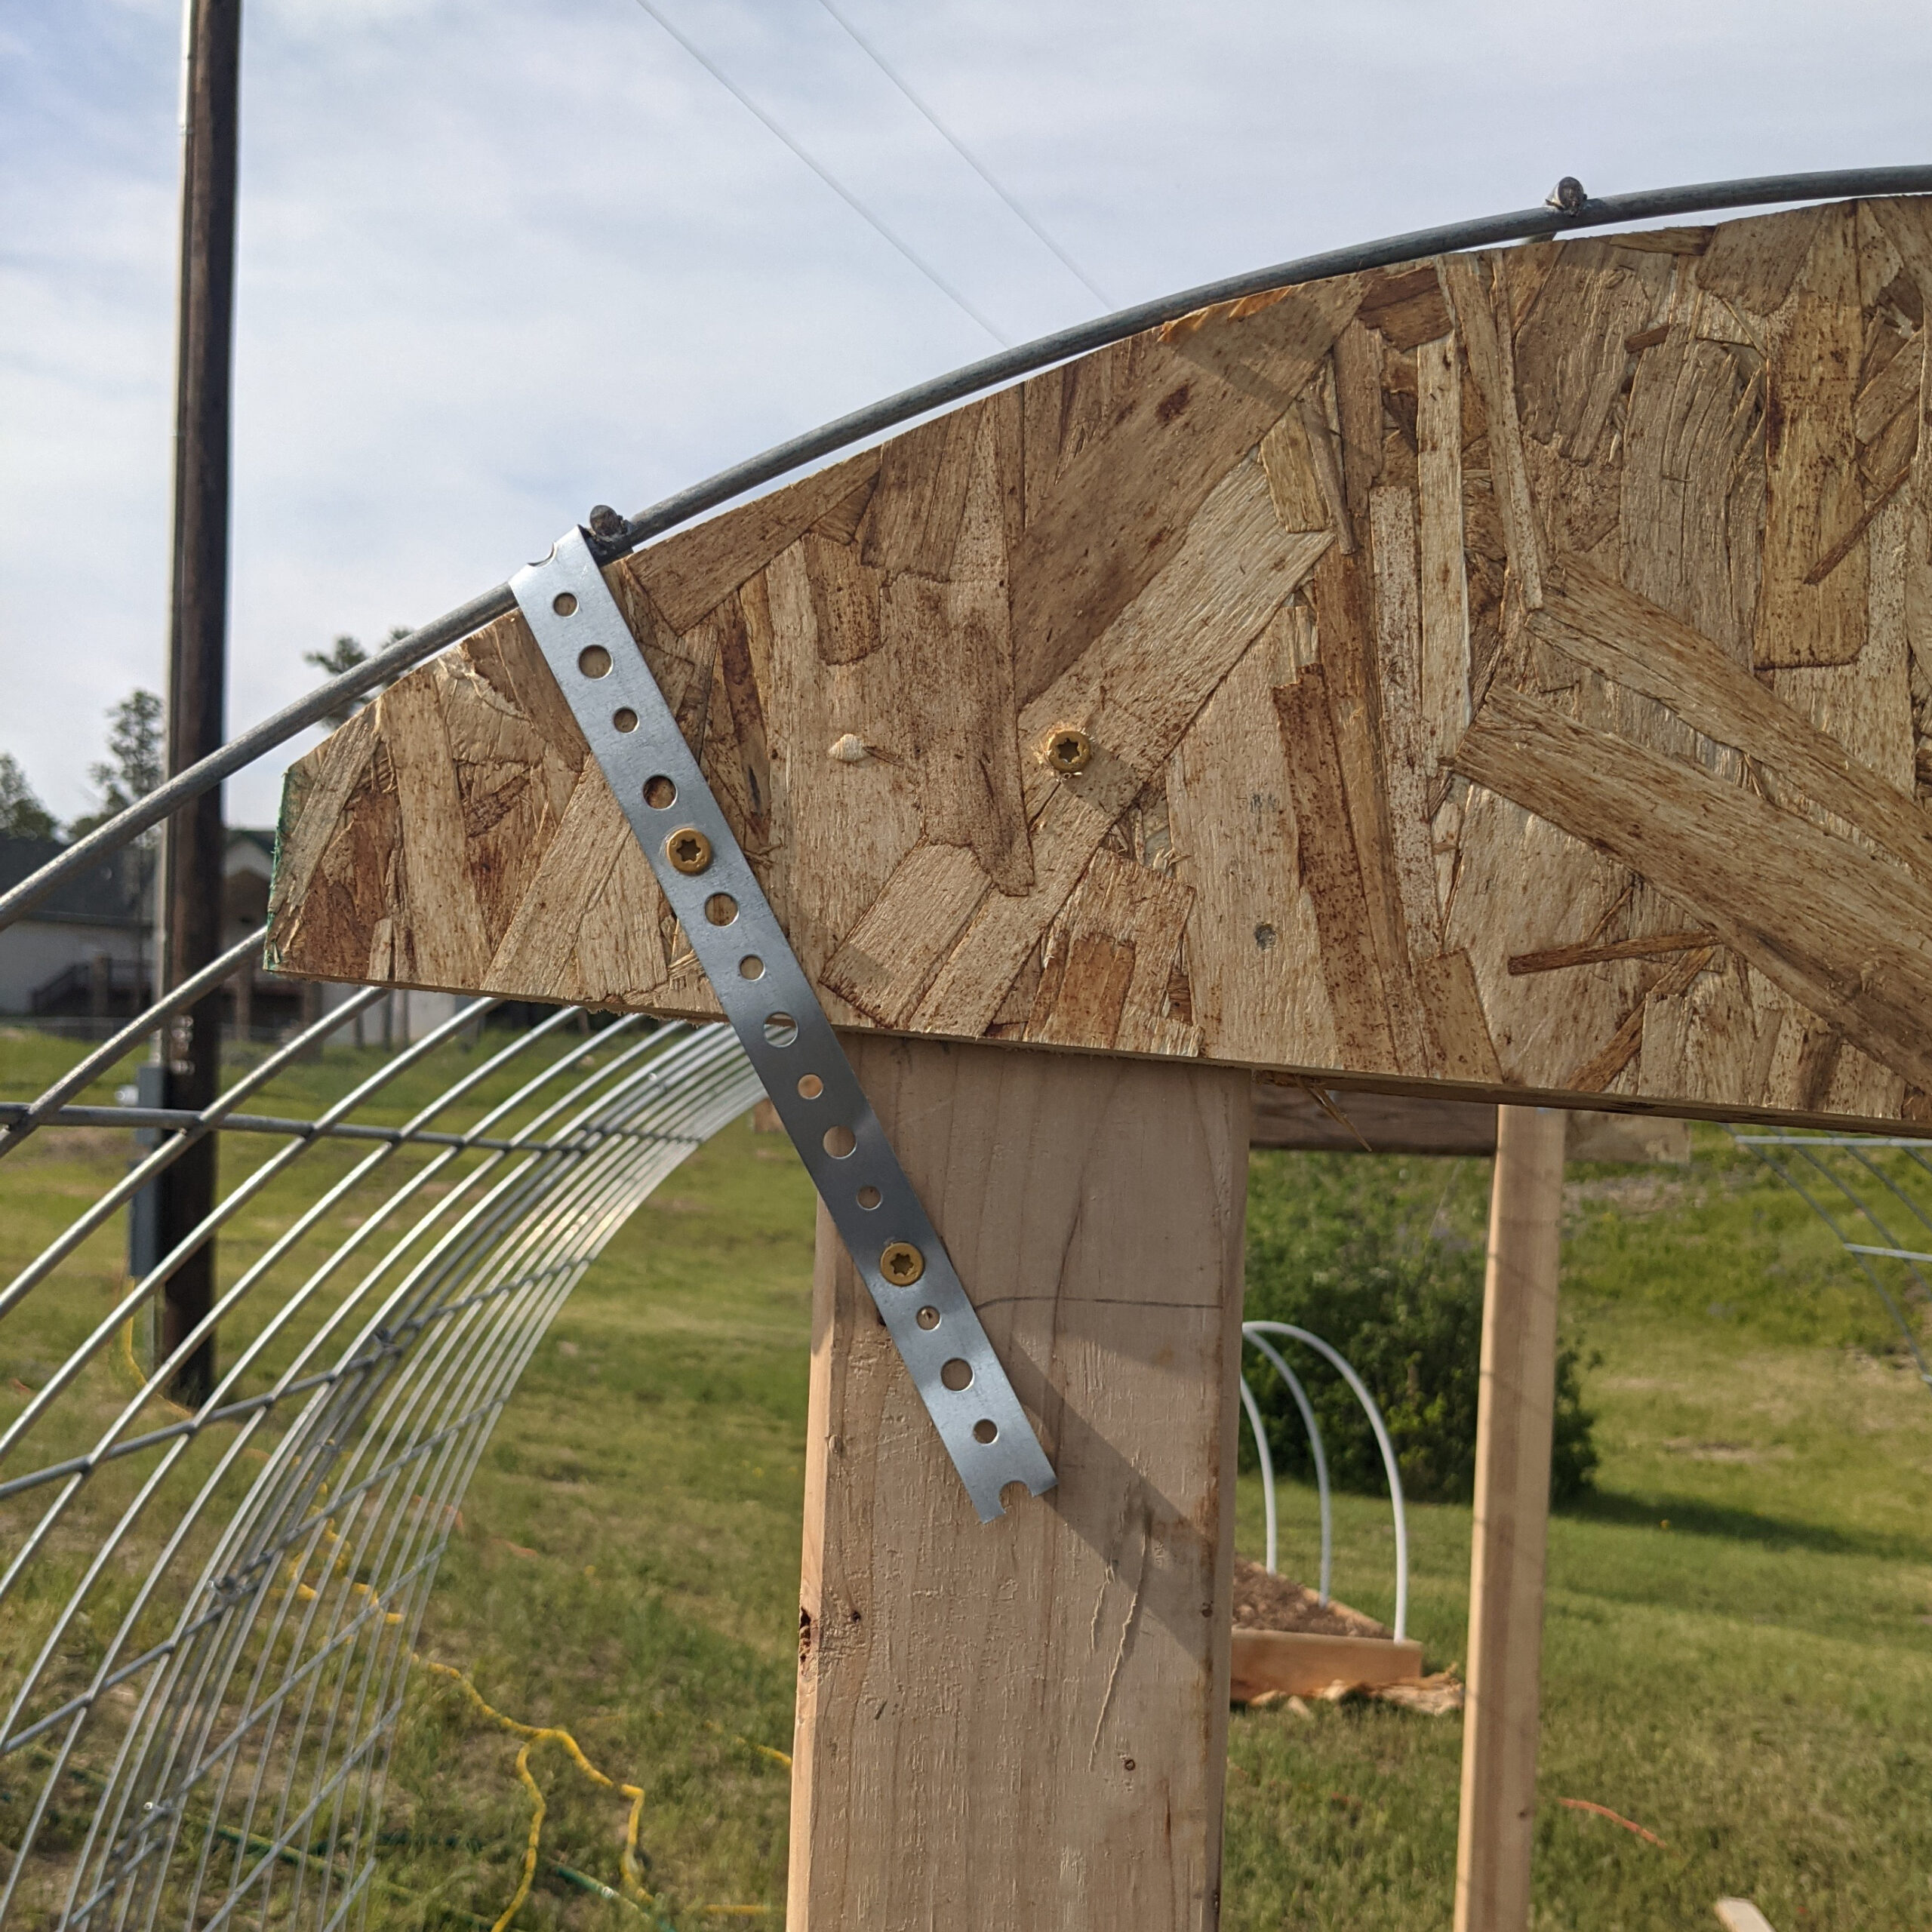
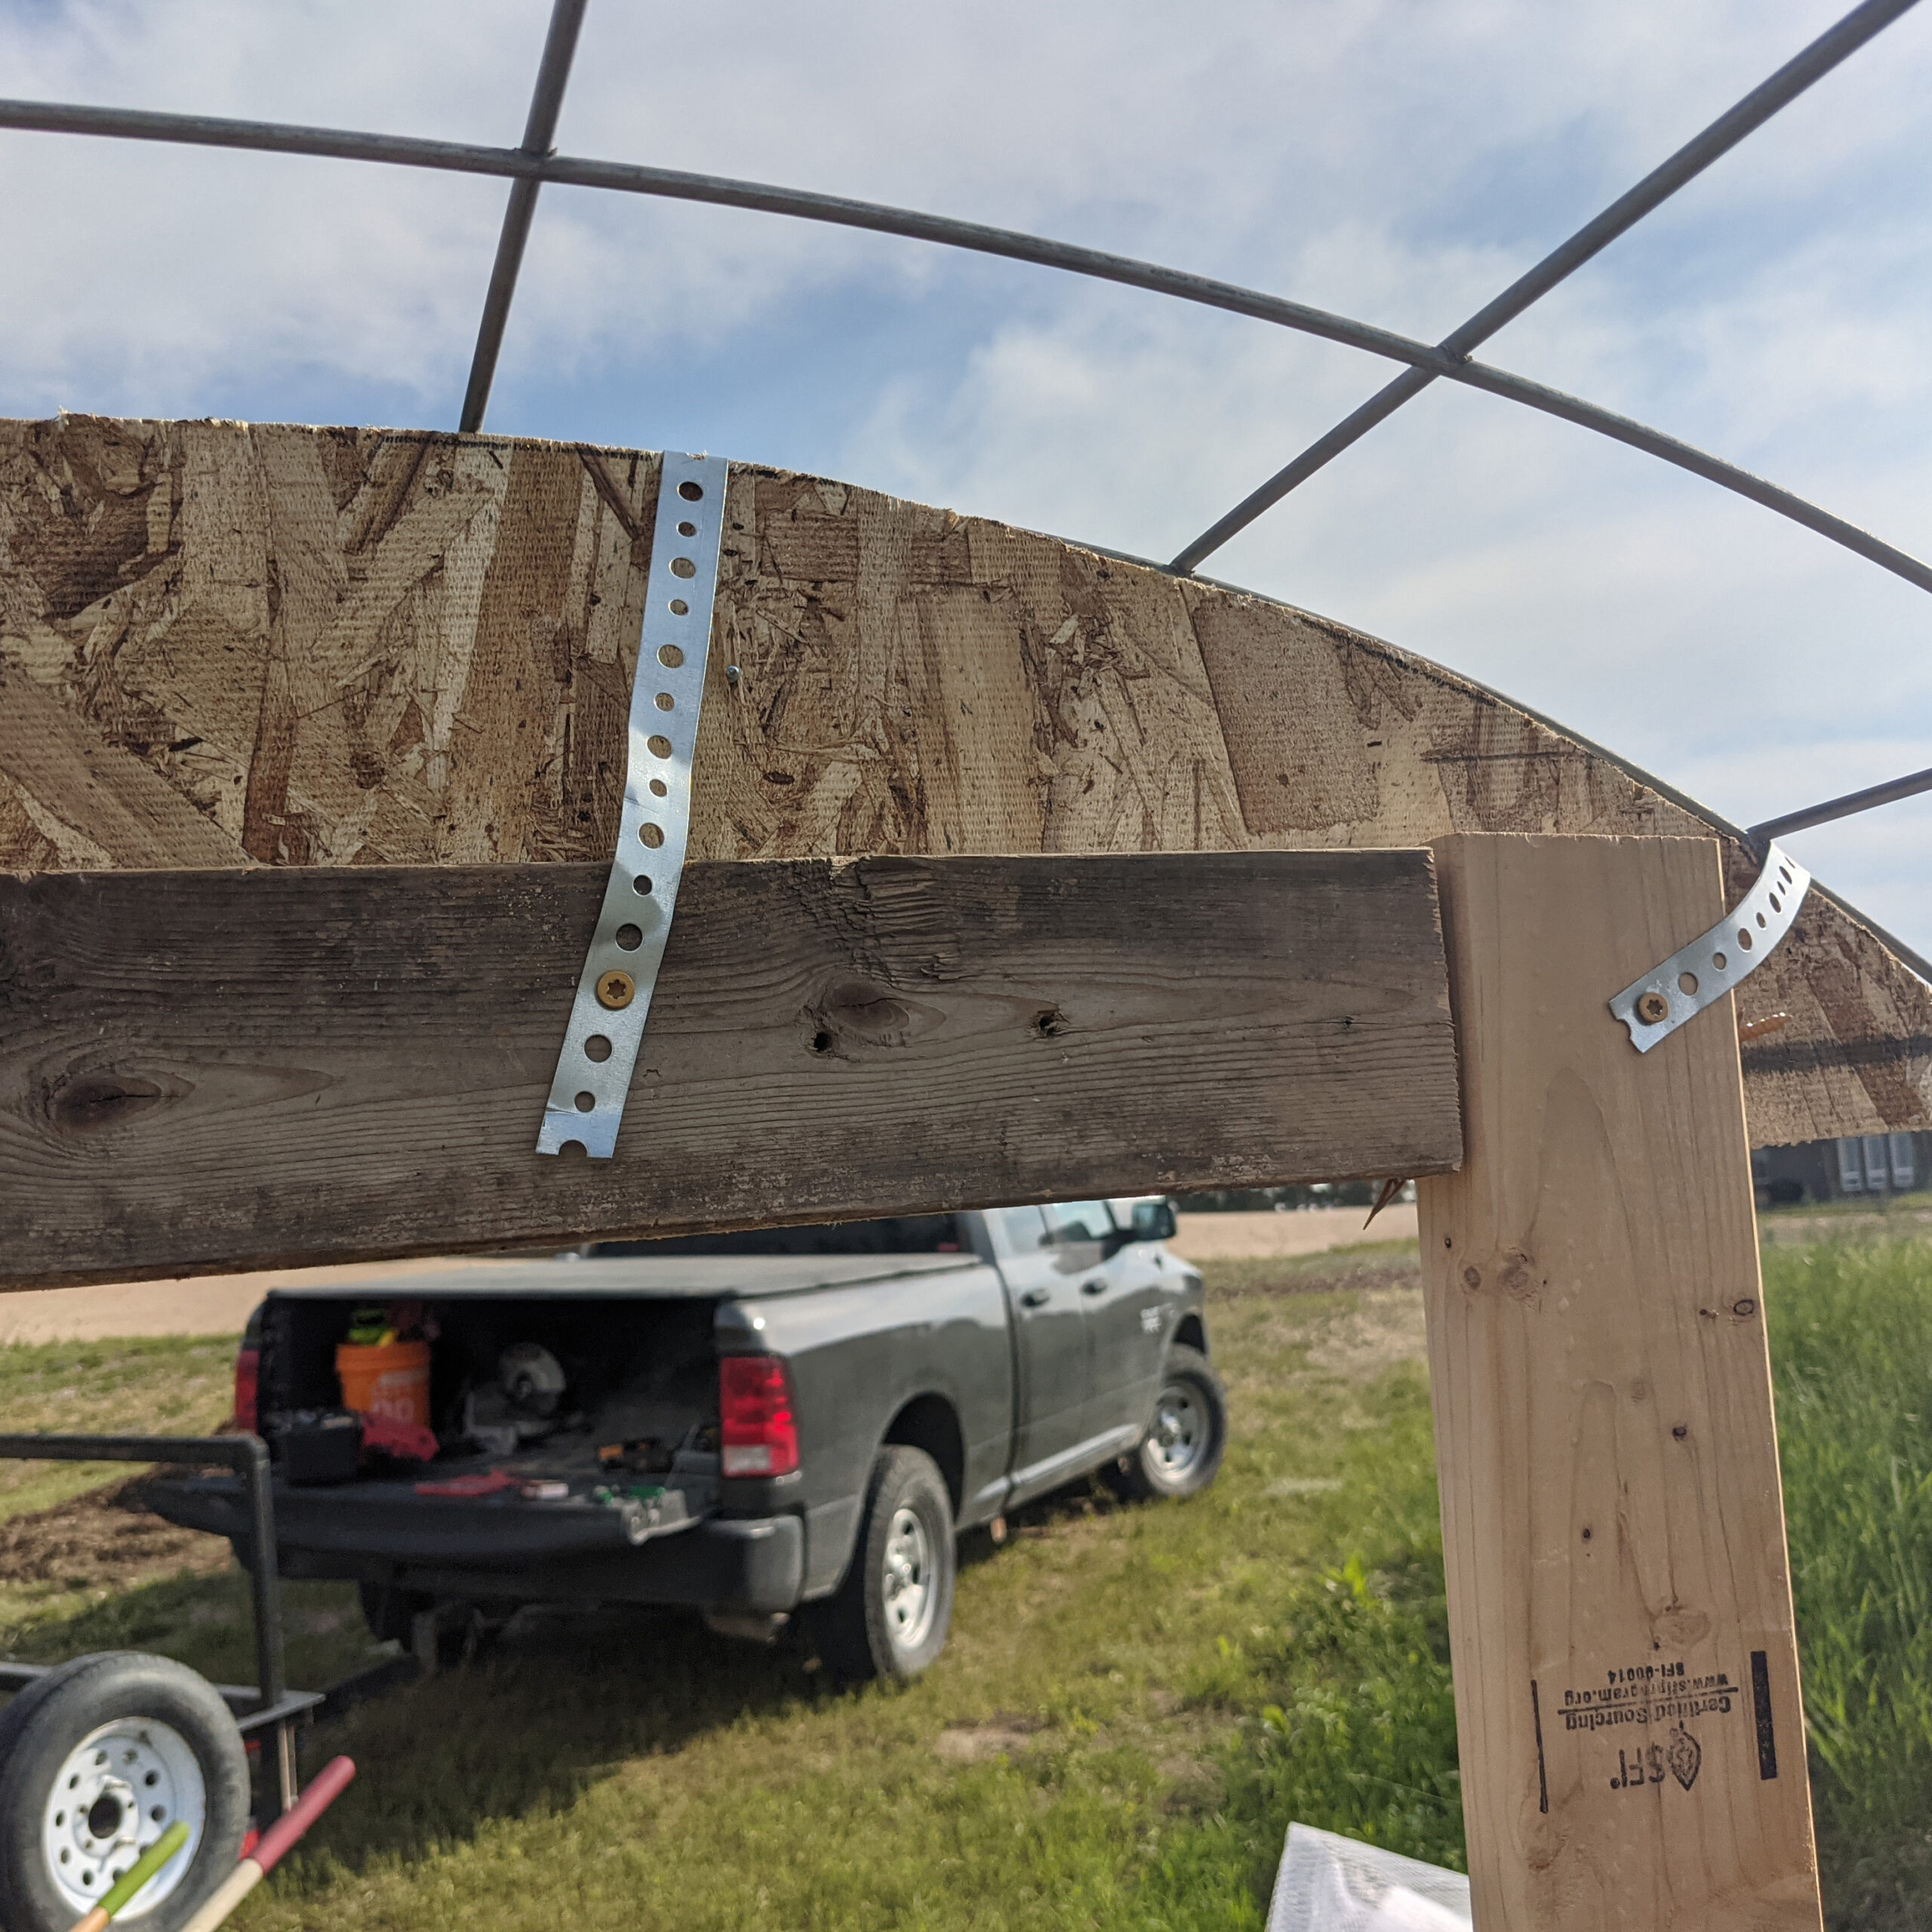
Now add arch supports to the top of the framed openings. We traced the shape of the arches onto cardboard to create cutting templates and then used a jigsaw to cut the arch supports out of some scrap OSB.
Next, we screwed the OSB to the top of the framed openings. The cattle panel is attached by wrapping perforated pipe hanger tape around the arch and arch support and screwing the tape into the 2x4s.
The framed opening and arch support create extra stability and support for each end of the garden.
Scrap OSB Arch Support
Pipe Hanger Strap
Attachment Examples
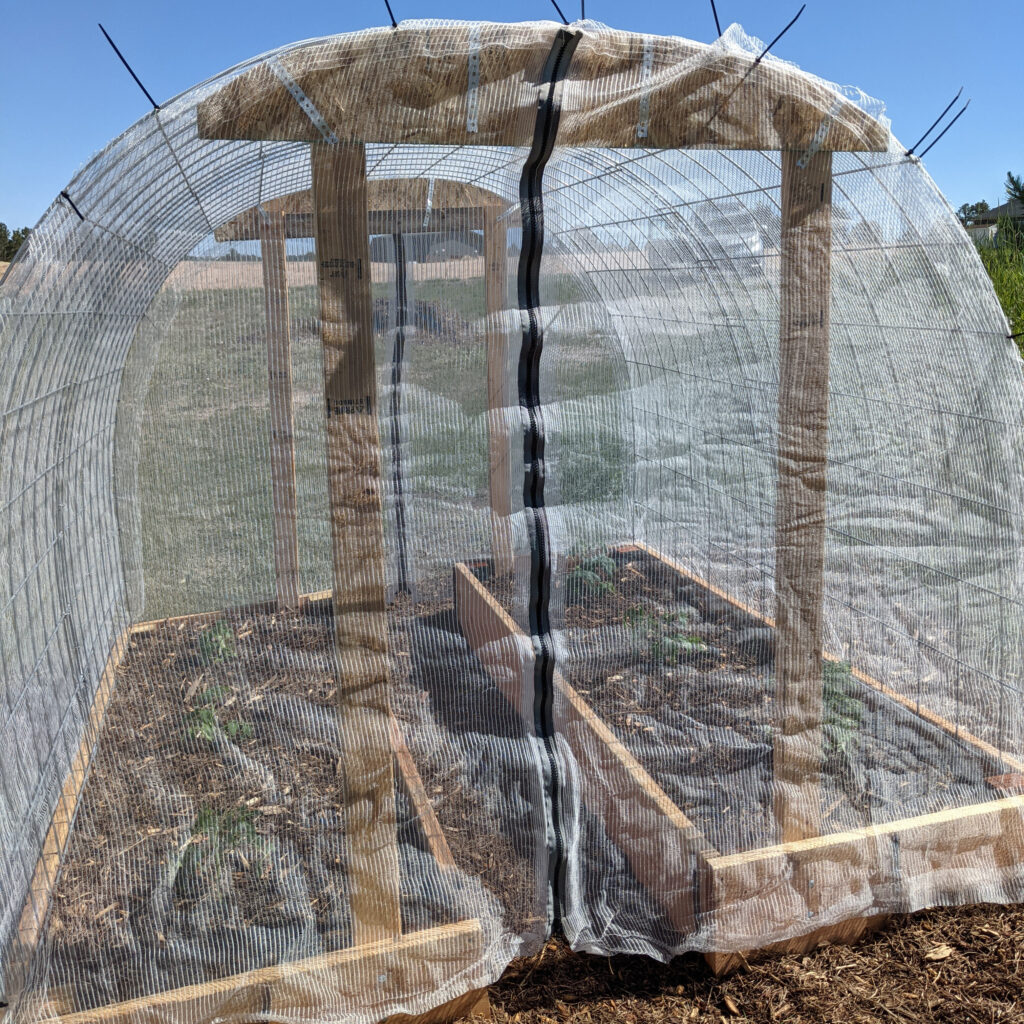
Finally, cover the garden with hail cloth. This bed is 8 feet long and the arch is a little over 16 feet across. We cut a rectangle of hail cloth, draped it over the bed, and attached it with zip ties.
The end panels on this bed both contain a 6 foot plastic, outdoor safe, sleeping bag style zipper. Jill sewed the zippers to the hail cloth and then attached the end panels with zip ties.